Make your ideas with our new physical computing kits!
27 September 2021
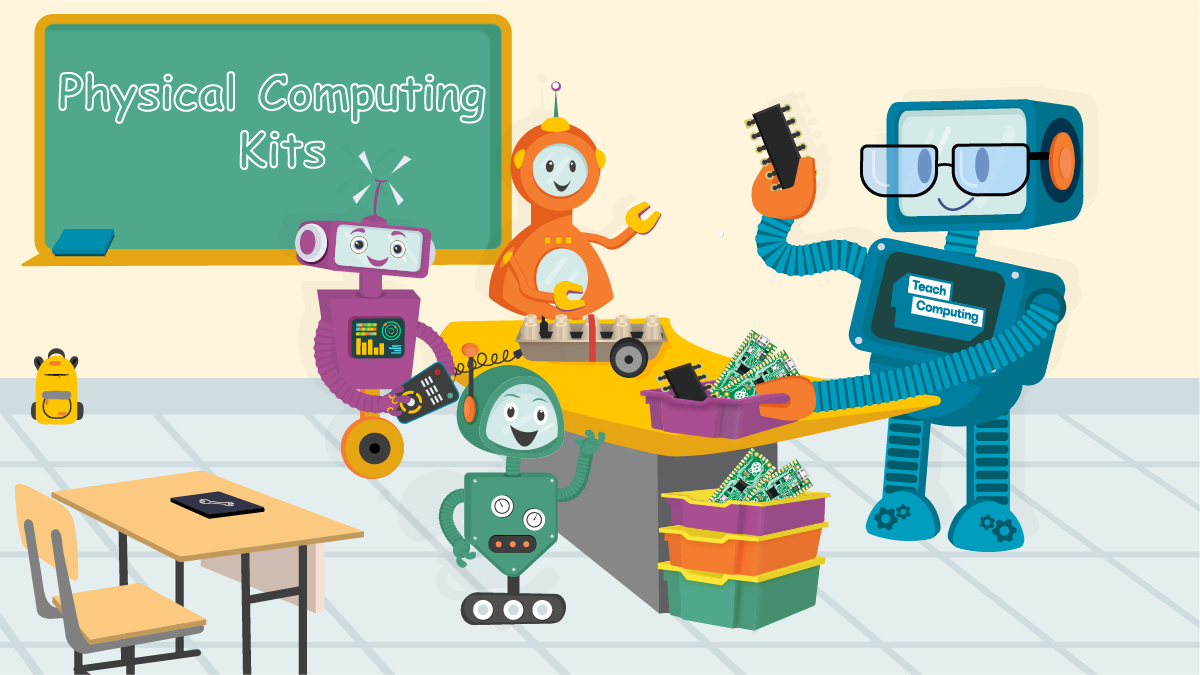
Physical computing kits are now available to borrow free of charge from all 34 NCCE Hubs!
The kits are split into trays, by type of device. Each tray is suitable for teachers to get started with physical computing at different key stages:
- Crumble trays – aimed at Key Stage 2
- Micro:bit trays – aimed at Key Stages 2 and 3
- Raspberry Pi Pico trays – aimed at Key Stage 4
- Raspberry Pi 3B+ trays – aimed at Key Stage 4
Check out our new physical computing kits guide for more information about what’s in the trays and the teaching resources and training that accompany them.
If you are new to physical computing, we've launched three new face-to-face courses to accompany the arrival of the kits that will introduce you to the Crumble, micro:bit, and Raspberry Pi Pico:
- Physical computing kit – KS2 Crumble (NEW!)
- Physical computing kit – KS3 micro:bit (NEW!)
- Physical computing kit – KS4 Raspberry Pi Pico (NEW!)
There are also some fantastic online courses available:
- Teaching Physical Computing to 5-11 year olds (NEW!)
- Robotics with Raspberry Pi: Build and Program Your First Robot Buggy
- Teaching Physical Computing with Raspberry Pi and Python
How to book
Visit teachcomputing.org/hubs to search for your local hub, then contact them to find out what’s available to borrow. Get your hands on the latest technology for free!
To celebrate the launch, we spoke to James Robinson, a physical computing expert at the Raspberry Pi Foundation. James recently published a new NCCE Physical Computing Quick Read on the subject, and has worked on various projects over the years that helped to bring physical computing to more classrooms.
Hi James! So what is physical computing?
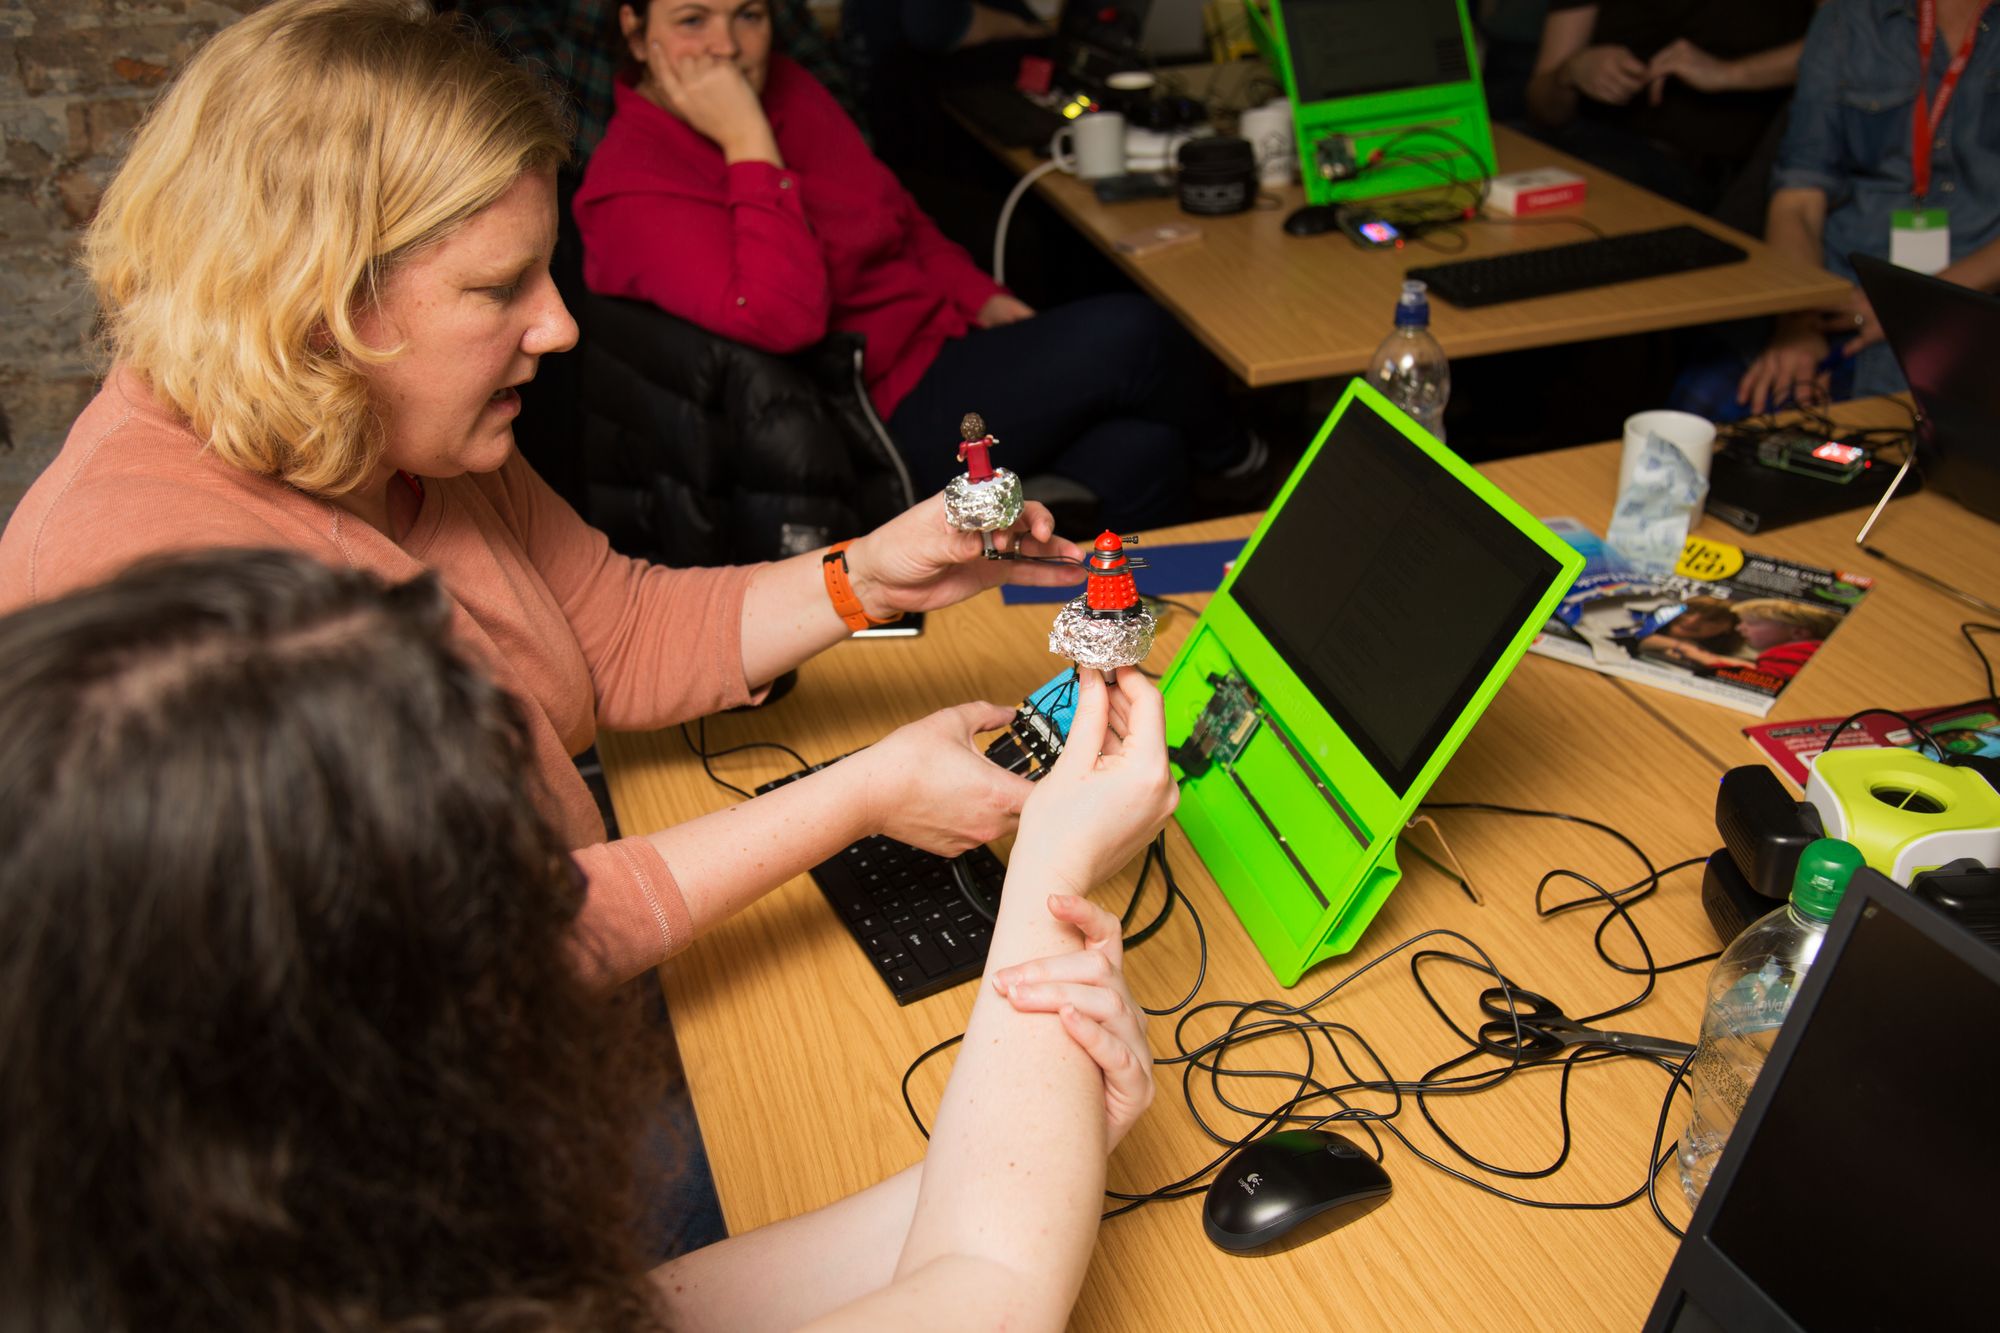
Essentially it’s where you’re using a computer or device to communicate with the real world. We might be using that device to create an output in the real world, for example through lights, motors or sounds; or sensing something about the real world, for example through recording ambient temperatures, measuring humidity, or the distance away from the device we are using. Connecting the virtual world with something that is real, physical, and tangible, can be a real motivating factor for students who are used to purely screen-based programming.
Typically we are using really simple electronic components like LEDs. The equivalent of writing a Hello World! style program is making an LED blink! Once you’ve learned how to make an LED blink, you can move on to adding in a buzzer, multiple LEDs, or maybe even a motor to create movement!
What was your first experience of teaching physical computing?
I’ve been interested in physical computing for a long time and started experimenting with it at after-school clubs around 2010 and 2011, then in 2012 the first Raspberry Pi came out and I managed to purchase one fairly early on and bring that single device into school and use it to demonstrate to classes what it could do.
How has physical computing evolved since then?
Through starting to teach physical computing in class, and attending a physical computing course called Picademy at the Raspberry Pi Foundation, I grew in confidence and was also able to help convince the school to support the kids with getting Raspberry Pis for themselves for my GCSE classes. We tried to use the physical computing context quite frequently throughout the GCSE — we learned the concepts we needed to understand for the GCSE but often used a physical computing angle to explore those concepts. Once we had shown the impact of those sessions, it became easier to invest in kit that we could use throughout the school.
Why is physical computing important?
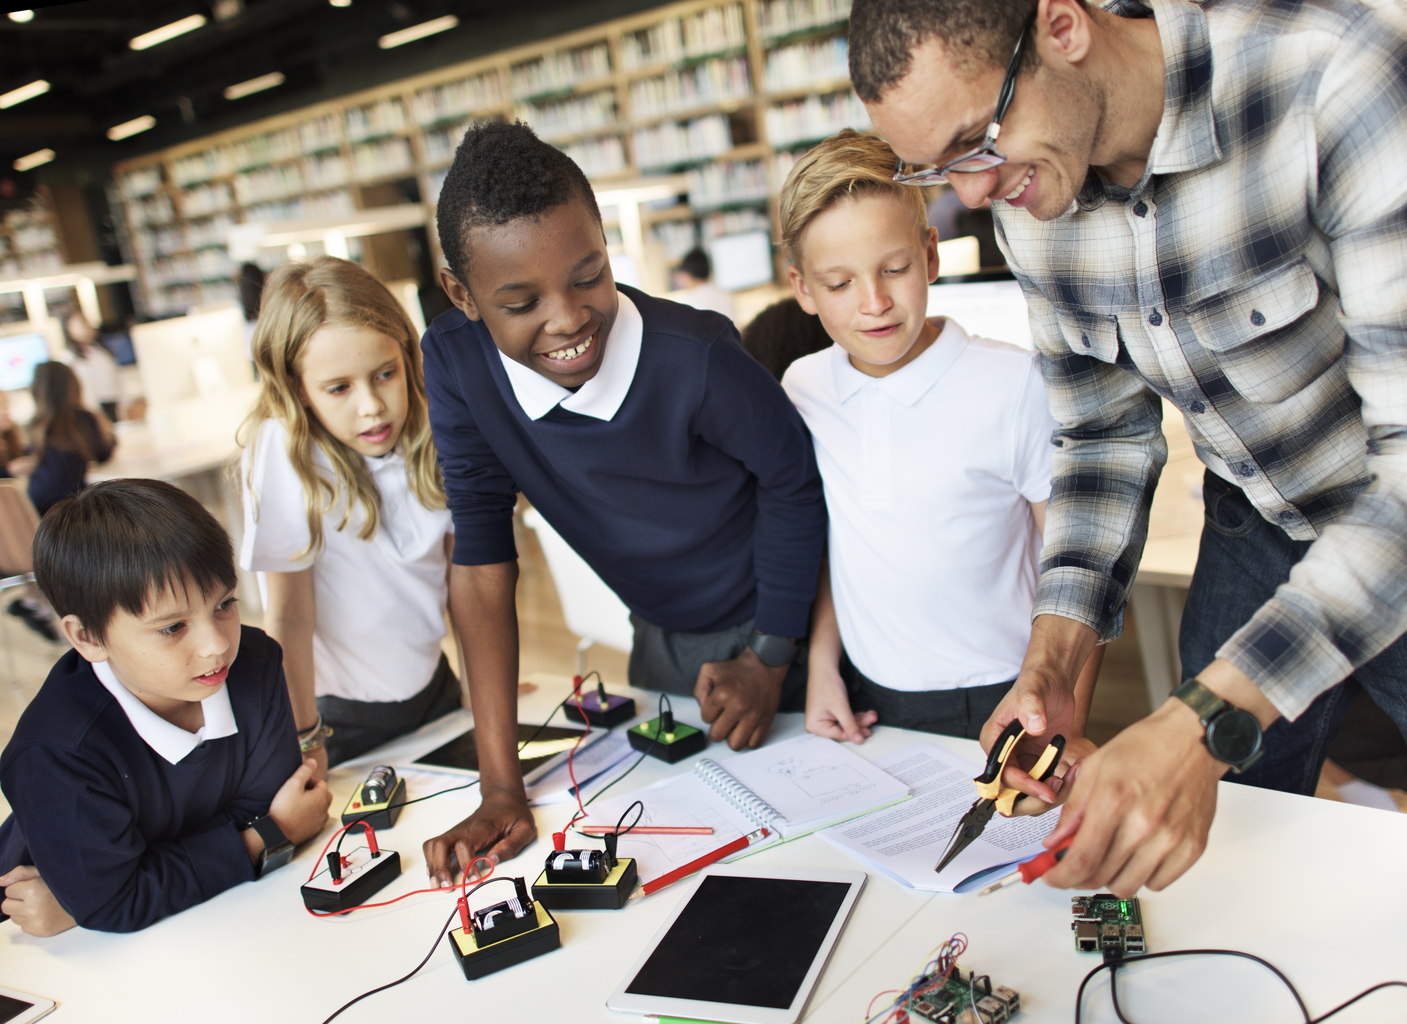
One of the main reasons is that it’s engaging. It’s a very concrete experience where learners are touching and interacting with the objects that they are then going to program. There is emerging research that physical computing activities help to support learners’ understanding of programming. This is because, in an abstract context where you’re moving a sprite, or trying to manipulate some numbers, it can be quite difficult to connect with that program. But when you’re working with something physical, the physical object can provide lots of cues and hints — your brain looks at an LED and knows that it needs to light up, and that will help you look for cues about which part of the program is making the LED light up. There’s a physical, tangible artefact that helps to provide clues about what the program is doing and then ultimately helps the students to adapt their program to what they are trying to achieve.
Apart from program comprehension, physical computing is a collaborative experience — it gives learners the opportunity to collaborate, and involves them designing and prototyping, as well as connecting with other subjects such as design, science, and engineering. There are definitely opportunities to link not only with STEM subjects, but also across the curriculum more generally to make interesting and exciting learning opportunities happen. You can read my recent Quick Read on physical computing for more details.
What advice would you give to teachers wishing to implement physical computing projects in their classroom?
If you are new to teaching physical computing, I would suggest that you start small and focus on a single group of learners with one of the physical computing units from the Teach Computing Curriculum that can be found in our Teacher Guide. The guide also links to teacher training courses, both online and face to face.
Thanks James!
We’d like to thank Redfern Electronics, the Micro:bit Educational Foundation, Raspberry Pi Trading, Pimoroni, and Gratnells for their generous support and donations of the equipment needed for the kits.
We would also like to thank everyone from the following NCCE Hub schools for taking part in the physical computing kits pilot earlier this year: Saffron Walden County High School, Beamont Collegiate Academy in Warrington, Beauchamp College in Leicester, Cardinal Hume Catholic School in Gateshead, Park House School in Newbury, and Dartford Grammar School.
Visit teachcomputing.org/hubs today to find your local Hub, and contact them about borrowing one of our class kits!